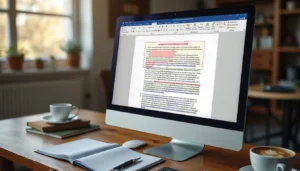
Are you ready to take your document game to the next level? Dive into the world of Microsoft Word advanced layout options! Mastering these advanced features is essential for anyone who wants to create documents that not only convey information but do so in a visually appealing manner. Whether you’re drafting a report for work or putting together a presentation for school, the way your document looks can make a world of difference.
In this guide, we’ll unravel the mystery behind Microsoft Word advanced layout options. We’ll cover everything from text wrapping that makes your paragraphs pop to creating polished multi-page layouts that impress your readers. You’ll also learn tips and tricks to avoid common mistakes, ensuring your documents not only look great but are also easy to navigate.
Are you excited to become the next Word wizard? Let’s explore the advanced layout options that can transform your mundane documents into works of art!
Introduction to Microsoft Word Advanced Layout Options
When it comes to presenting your ideas, the presentation is just as important as the content itself. Microsoft Word advanced layout options play a critical role in how your documents are formatted and presented. Understanding these features can elevate your writing from a simple text document to a polished masterpiece, whether it’s for a professional report or an academic paper. Let’s dive deeper into some of the most significant aspects of Microsoft Word advanced layout options.
Definition and Significance
Microsoft Word advanced layout options refer to the various tools and features that allow users to manipulate the structure and design of their documents. With these options, you can:
- Create complex layouts that enhance readability.
- Adjust the positioning of text and images to capture attention.
- Utilize features that help maintain consistency throughout your document.
The importance of these options cannot be overstated; they transform your mundane Word document into an engaging reader experience.
Overview of Features
There are several powerful features within Microsoft Word that fall under the umbrella of advanced layout options:
- Text Wrapping: Control how text interacts with images and other elements.
- Columns: Create text in multiple columns, perfect for newsletters.
- Page Breaks: Manage the flow of your document and control where new pages begin.
- Headers and Footers: Add context or references that appear consistently across the document.
- Section Breaks: Allow different parts of your document to have varied formatting.
Mastering these Microsoft Word advanced layout options can significantly enhance the visual appeal of your documents.
Importance of Mastering Advanced Layout Options
Why should you invest time in learning Microsoft Word advanced layout options? Here are three reasons:
| Reason | Impact |
|---|---|
| 1. Professionalism | Well-structured documents leave a lasting impression on clients and colleagues. |
| 2. Readability | Good layout options enhance the flow of your content, making it easier to digest. |
| 3. Creativity | Allows you to creatively express your ideas, making your documents stand out. |
Whether you’re crafting a research paper or putting together a marketing proposal, knowing how to effectively use Microsoft Word advanced layout options can make all the difference. Consider diving into resources like Microsoft’s Word Help Center for comprehensive tutorials. After all, a great document is one part content, two parts layout! So, what are you waiting for? Let’s get formatting!
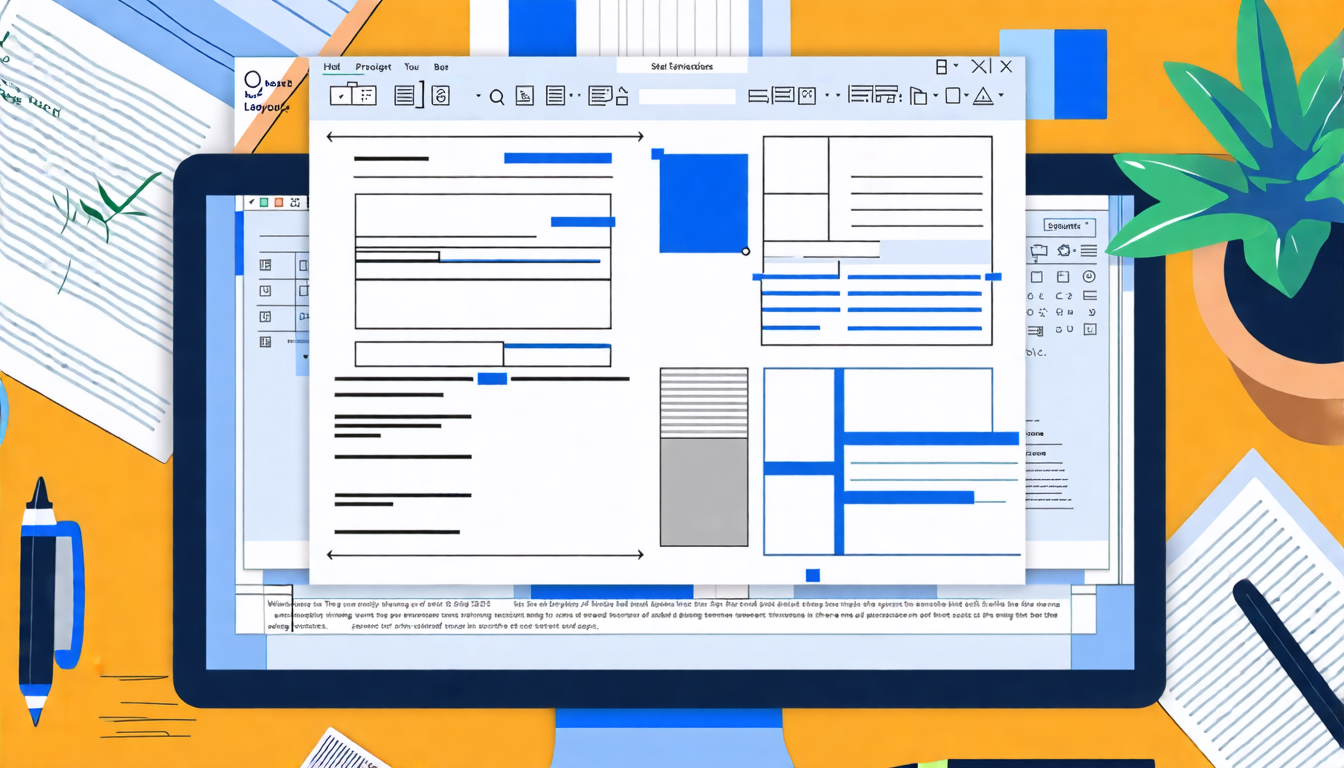
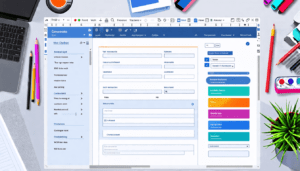
Key Advanced Layout Features in Microsoft Word
When diving into the world of Microsoft Word advanced layout options, you’ll discover a treasure trove of features designed to elevate your documents from basic to brilliance. Let’s break down some of the key features that will make your documents shine:
1. Text Wrapping
- In-line with Text: The default setting; places the image directly within the text.
- Square: Text wraps around the image in a rectangular box.
- Tight: Text hugs the contours of the image, creating a more integrated look.
- Through: Similar to tight, but the text fills the space within the image as well.
- Top and Bottom: Text only appears above and below the image.
To access these options, select your image, then navigate to the Format tab, click Wrap Text, and choose your preferred style. This nifty feature allows you to create a visually appealing layout that draws attention to key images and information!
2. Columns
By using columns, you can create newsletters, brochures, or any document that benefits from a multi-column layout. Here’s how to use columns effectively:
- Highlight the text you want in columns.
- Click on the Layout tab.
- Select Columns and choose your layout, such as two or three columns.
- For a more tailored approach, click on More Columns… for custom width and spacing options.
Remember, using columns can make your document more engaging and easier to read. Just be sure not to go overboard, or your readers may need a GPS to navigate through your text!
3. Page Breaks
Properly managing page breaks is critical when working with lengthy documents. Here’s a quick reference:
| Type | Description |
|---|---|
| Page Break | Starts a new page immediately. |
| Section Break | Allows you to change page formatting in just one section of your document. |
| Column Break | Moves text to the next column, without waiting for the current column to fill up. |
To insert any break, go to the Layout tab, then click on Breaks and choose the desired break. This helps in maintaining a clean flow in your document and makes it visually appealing!
4. Utilizing Grids and Guides
To ensure that your document’s elements are perfectly aligned, using grids and guides is invaluable. Here’s how:
- Go to the View tab.
- Check the Gridlines option to display gridlines in your document.
- For guides, consider creating and customizing your own by inserting shapes and aligning content accordingly.
Using these tools can help you achieve that professional polish your project deserves!
5. Creating Multi-page Layouts
Multi-page layouts can be daunting, but they don’t have to be! Here’s a quick way to manage headers, footers, and section breaks:
- Create a header or footer by double-clicking the top or bottom of your page.
- Add page numbers, document titles, or dates as per your requirements.
- Use section breaks to separate different chapters or segments of your document. Insert them via the Layout tab under Breaks.
Utilizing these elements will ensure each page is cohesive and proportionate, maintaining your reader’s focus where it counts!
6. Final Thoughts on Mastering Microsoft Word Advanced Layout Options
Implementing these Microsoft Word advanced layout options can drastically improve the aesthetic and functional quality of your documents. Whether you’re creating eye-catching reports, newsletters, or academic papers, mastering these tools is essential. Besides, why write a standard document when you can create a masterpiece?
For further reading and resources, check out the official Microsoft Support page for additional tips on enhancing your Word skills!

Practical Applications and Best Practices
When it comes to creating documents that not only relay information but captivate an audience, Microsoft Word advanced layout options can be your best friend. Let’s dive into practical applications and best practices that can supercharge your document presentation.
1. Real-World Scenarios
Understanding the value of Microsoft Word advanced layout options can transform mundane documents into masterpieces. Here are a few scenarios where advanced layout techniques shine:
- Business Proposals: Utilize columns to present timelines and budgets side by side, making key information easily digestible.
- Reports and Presentations: Incorporate headers and footers to ensure important details, like page numbers and titles, are always visible.
- Academic Papers: Make use of section breaks to manage different formatting styles (e.g., MLA vs. APA) in the same document.
2. Step-by-Step Guide to Implementing Advanced Layout Features
Ready to wield the power of Microsoft Word advanced layout options? Follow these steps:
Step 1: Prepare Your Document
Start with a well-structured document. Ensure your content is clear and organized.
Step 2: Explore Columns
Navigate to the Layout tab, and click on Columns. Choose from preset options or create custom columns, perfect for reports or newsletters.
Step 3: Use Text Wrapping
Incorporate images effectively. Use the Wrap Text option under the image format tools to set your images inline with text, square, or tight for a polished look.
Step 4: Leverage Page Breaks
Insert page breaks (Insert > Break > Page Break) between sections for clarity, ensuring that new topics start on a new page.
Step 5: Add Section Breaks
If your document requires different formatting within it, place a section break (Layout > Breaks > Section Break) to separate the content. This is especially useful for changing header/footer styles or page orientations.
3. Common Pitfalls to Avoid
Microsoft Word advanced layout options and how to troubleshoot them:
| Common Issue | Solution |
|---|---|
| Text Overlap or Cutting Off | Check margins and spacing under the Layout tab. Adjust as needed to avoid overflow. |
| Images Distorting Text Flow | Make sure text wrapping is enabled. Experiment with different wrapping styles for the best alignment. |
| Uneven Sections | Use section breaks strategically and consistently across your document for homogeneous formatting. |
| Inconsistent Header/Footer Design | Double-check that you’re using the correct section for headers/footers, adjusting formatting based on sections as necessary. |
Mastering Microsoft Word advanced layout options not only enhances your document presentation but sets you up for success in your professional or academic endeavors. With practical scenarios, a handy guide, and knowledge of common pitfalls to watch out for, you’re now ready to take your documents from drab to fab!
For further exploration of document design, check out Microsoft’s Official Guide and become a layout aficionado today!
Conclusion
Mastering Microsoft Word advanced layout options is essential for anyone looking to enhance their document design and presentation. By exploring key features such as text wrapping, columns, and the use of grids and guides, you can create visually appealing documents that captivate your audience. The practical applications, from academic papers to professional reports, highlight the value these advanced layout techniques bring to your work.
Employing these advanced layout options not only elevates the aesthetic quality of your documents but also ensures effective communication of your ideas. Remember to keep best practices in mind and be aware of common layout pitfalls to streamline your editing process. With the right tools at your fingertips, you can turn a standard Word document into a polished masterpiece. For further resources on Microsoft Word and its capabilities, consider visiting the official Microsoft support page and other reputable online tutorials. Embrace these advanced layout options—your readers will thank you!