

Creating forms using Microsoft Word can be a game-changer for both personal and professional data collection. Forms are essential tools that help us gather information efficiently, whether it’s for surveys, applications, or feedback. Not only do they streamline the documentation process, but they also ensure that the data collected is organized and easy to analyze. By using Microsoft Word for forms, users can leverage its powerful features to create customizable, professional-looking documents without needing advanced software.
In this guide, we’ll explore the benefits of digital forms, from time-saving convenience to enhanced accuracy. We’ll take you step-by-step through the form creation process, covering everything from setting up your document to using form controls like text boxes and checkboxes. You’ll learn how to protect your forms for user submissions and receive tips on designing effective layouts that encourage engagement. So, let’s dive into the wonderful world of using Microsoft Word for forms and transform the way you collect and manage data!
I. Introduction to Forms in Microsoft Word
A. Importance of forms in data collection and documentation
Creating effective forms is essential in collecting data and ensuring documentation accuracy. Businesses, educational institutions, and organizations rely heavily on forms for various purposes such as surveys, applications, feedback, and more. With forms, you can streamline information gathering and enhance efficiency in data processes. Imagine having a perfectly structured form gathering precise data without the hassle of manual entry. Yes, please! Using Microsoft Word for forms makes this possible.
B. Overview of using Microsoft Word for forms
Microsoft Word, typically known for its word-processing capabilities, is a surprisingly versatile tool for form creation. Its familiar interface allows users to easily construct and customize forms without excessive training. Want a sleek, professional-looking document? Look no further than using Microsoft Word for forms.
Some key features of Word that aid in form creation include:
- User-friendly interface
- Variety of design options
- Ability to insert various form controls
- Easy distribution and accessibility
C. Benefits of creating forms digitally
Why opt for digital forms over traditional paper formats? Here are a few compelling reasons:
- Efficiency: Easily distribute and collect responses.
- Cost-effective: Save on paper and printing costs.
- Convenience: Edit and update forms quickly.
- Environmentally friendly: Reduce your carbon footprint.
Using Microsoft Word for forms embraces these advantages, making the transition to digital a no-brainer.
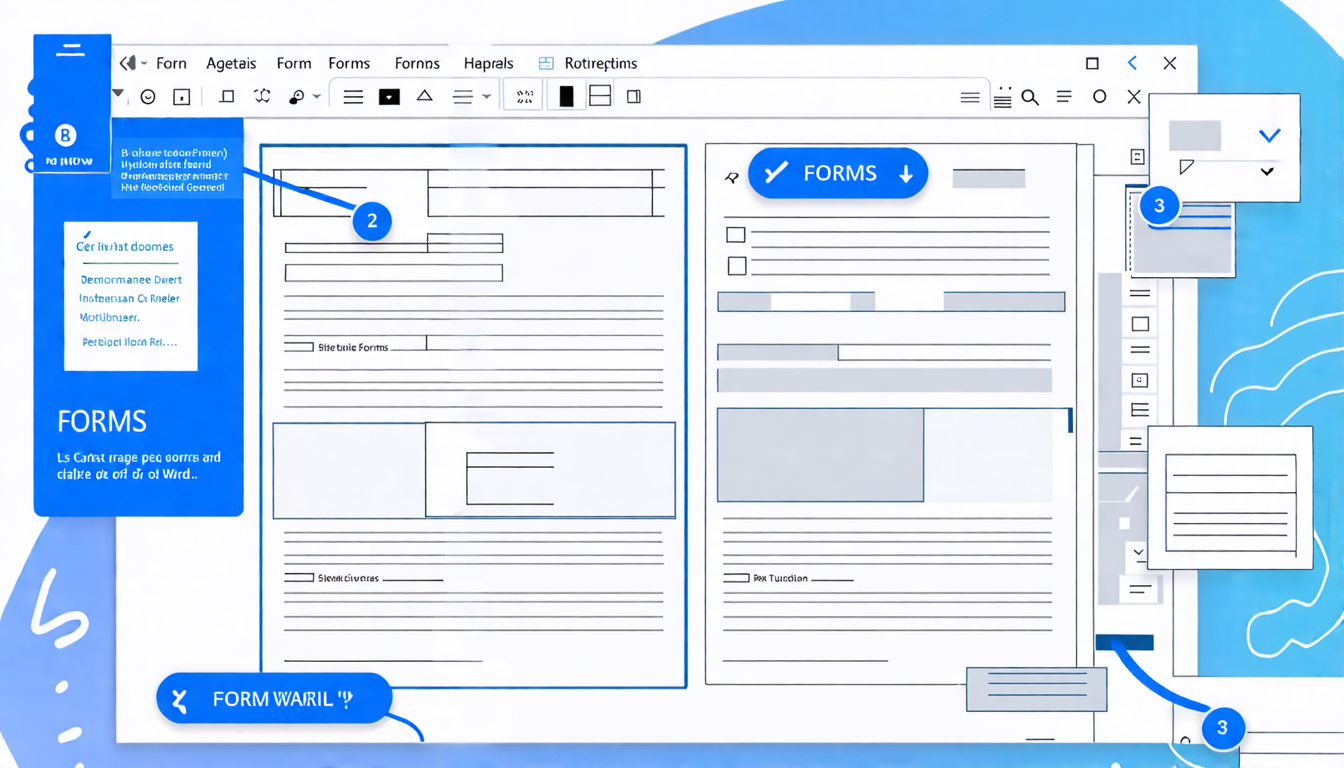
II. Step-by-Step Guide to Creating Forms in Microsoft Word
A. Setting up the document for form creation
Getting started is easy! Here’s how to set up your document for form creation:
1. Page layout and size
– First, decide on the orientation of your form—portrait or landscape?
– Go to the Layout tab to adjust the page size and margins to fit your needs. A standard A4 size usually works well.
2. Inserting tables for structured data entry
– Tables can significantly improve the organization of data entry.
– Navigate to the Insert tab, click on Table, and choose the number of rows and columns you think are necessary for your form.
– Use this layout to group related information and guide the user through data entry seamlessly.
B. Utilizing form controls
Now comes the fun part—adding interactivity!
1. Adding text boxes, checkboxes, and drop-down lists
– To add form controls, click on the “Developer” tab. If you can’t find it, enable it through Word options.
– Insert text boxes by clicking “Legacy Tools” within the Developer tab.
– Checkboxes can be added similarly; simply select the checkbox option to allow users to make selections.
– Want users to choose from a list? Opt for drop-down lists, which are ideal for limiting options while keeping it engaging.
2. Configuring properties for form controls
– Click on any control you’ve added, and select “Properties” to customize settings.
– Set default values, designate whether a box can be checked or unchecked, and establish a list of options in drop-downs.
C. Protecting the form for user submissions
This step ensures that users can’t tamper with your form design.
1. Restricting editing to form fields only
– Click on the “Restrict Editing” option under the Developer tab.
– Select “Editing restrictions” and choose “Filling in forms,” allowing users only to edit these specified fields.
2. Saving the form for distribution
– Save your masterpiece! Go to “File” and select “Save As.” Choose the format that suits your distribution method—.docx or .pdf works wonders.
– And voila! Your form is ready to be shared with the world.
III. Tips for Designing Effective Forms using Microsoft Word
A. Best practices for form layout and aesthetics
– Clarity is key! Use clear headings and subheadings to guide users through the form.
– Stick to a simple color scheme—too many colors can confuse users.
– Be sure to use consistent font styles and sizes to maintain a professional look.
B. Ensuring user-friendly navigation and instructions
– Include brief instructions at the beginning of the form. A little guidance goes a long way!
– Minimize scrolling by keeping the form concise or breaking it up into multiple sections visually.
C. Testing and gathering feedback for continuous improvement
– Before rolling it out, do a test run! Have colleagues fill it out.
– Gather feedback to identify any user experience hiccups and areas for improvement. Make adjustments accordingly for a smoother experience.
For more tips on creating effective forms, check out this guide on Google Forms.
So there you have it! With a friendly nudge and a few tips, you’re well on your way to becoming a pro at using Microsoft Word for forms. Happy form-making!
Step-by-Step Guide to Creating Forms in Microsoft Word
Creating forms using Microsoft Word is easier than you might think! Follow these steps, and you’ll be on your way to designing professional-looking forms that’ll impress your colleagues and clients alike.
Setting up the Document for Form Creation
Before diving into the fun of adding form controls, let’s make sure your document is primed and ready for action.
1. Page Layout and Size
- Open Microsoft Word and select a new document.
- Go to the Layout tab to choose the appropriate page size (A4, Letter, etc.).
- Set your margins under Margins for consistent spacing.
Choosing the right page size ensures that your form looks professional, and keeping consistent margins makes it easy to print.
2. Inserting Tables for Structured Data Entry
Structuring your form is crucial for data entry. Tables can help organize your layout intuitively.
- Click on the Insert tab and select Table.
- Choose how many rows and columns you’ll need based on your form’s requirements.
- Adjust table properties like cell padding by right-clicking on the table.
Tip: Use the first row for labels (e.g., Name, Email) and follow that with input cells for user responses.
Utilizing Form Controls
Now that your document is set up, it’s time to add some interactive elements using Microsoft Word for forms!
1. Adding Text Boxes, Checkboxes, and Drop-Down Lists
- In the Developer tab (if not visible, enable it through Options), find options for form controls.
- Select Text Box for free text input, Checkbox for options, and Drop-Down List for predefined choices.
Here’s how to add each:
| Control Type | Steps to Add |
|---|---|
| Text Box | Click on Text Box Control in the Developer tab. |
| Checkbox | Select Checkbox Content Control in the Developer tab. |
| Drop-Down List | Use Drop-Down List Content Control and configure options via properties. |
2. Configuring Properties for Form Controls
After adding your controls, it’s essential to configure them for optimal usability:
- Right-click each form control and select Properties.
- For text boxes, set character limits if needed.
- For drop-downs, add items by entering them in the properties dialog.
Protecting the Form for User Submissions
Now that your form is fully equipped, let’s ensure users can fill it out without accidentally editing the wrong sections.
1. Restricting Editing to Form Fields Only
- Once you’ve completed the form, go to the Developer tab.
- Select Restrict Editing.
- Check Allow only this type of editing in the document and select Filling in forms.
- Click Yes, and start Enforcing Protection to save your settings.
This feature ensures that users can only interact with the designated form fields, keeping your layout intact.
2. Saving the Form for Distribution
- Go to File and select Save As.
- Choose Word Template (*.dotx) to preserve the form controls.
- You can also save as a PDF if you want users to fill it out digitally without editing.
Voila! You’ve successfully created a form using Microsoft Word. Don’t forget to test it out by filling in the fields yourself before distributing it to others.
For more handy tips on using Microsoft Word for forms, consider checking out Microsoft’s official guide.

Tips for Designing Effective Forms using Microsoft Word
When you’re using Microsoft Word for forms, the design can make or break the entire experience for users. Below are some tried-and-true tips to ensure your forms are not only functional but also visually appealing and user-friendly.
1. Best Practices for Form Layout and Aesthetics
- Use a Clean Design: Keep the layout uncluttered. White space is your best friend; it helps guide the user’s eye.
- Consistent Font Style: Stick to one or two fonts throughout your form. This consistency improves readability.
- Infuse Color Wisely: Use color sparingly to highlight essential sections or draw attention to important instructions.
2. Ensuring User-Friendly Navigation and Instructions
Ever filled out a form that felt like you needed a GPS to navigate? Here’s how to avoid that:
- Logical Flow: Organize the sections logically. For example, start with personal information, then move to questions, and end with additional comments.
- Clear Instructions: Provide clear and concise instructions at the top. Use bullet points for added clarity.
- Visual Cues: Utilize icons or arrows to guide users through the form. Tools like Canva can help create these icons easily.
3. Testing and Gathering Feedback for Continuous Improvement
Before launching your form into the wild, testing is a must! Here’s how:
- Conduct Usability Tests: Have a few people fill out the form. Observe any confusion or difficulties they encounter.
- Feedback Loops: Add a section for comments at the end of the form. Encourage users to share their experiences.
- Revise Accordingly: Use the feedback to make adjustments. Continuous improvement is key to successfully using Microsoft Word for forms.
4. Utilize Templates for Inspiration
Need a boost? Templates can save time and inspire creativity. Microsoft Word has built-in templates as well as numerous websites where you can find free-form templates. Below is a table of resources:
| Resource | Description | Link |
|---|---|---|
| Microsoft Office Templates | Official Word templates for forms | Visit |
| Template.net | Wide variety of customizable form templates | Visit |
| JotForm | Online form builder with customizable templates | Visit |
5. Accessibility Matters
Designing forms isn’t just about looks—it’s also about making them accessible:
- Label Fields Clearly: Each form field should have a clear label, ensuring that users know what information is required.
- Color Contrast: Make sure the text stands out against the background. Tools like WebAIM Contrast Checker can help.
- Test with Screen Readers: Make sure your forms are readable by screen reader software, which many visually impaired users rely on.
In conclusion, creating effective forms is a blend of good design sensibility and clever functionality. By applying these tips while using Microsoft Word for forms, you’re already several steps ahead in creating a seamless experience for your users!
Conclusion
Mastering the art of creating forms using Microsoft Word brings efficiency to data collection and documentation processes. By following the structured approach outlined in this guide—setting up your document, utilizing form controls, and implementing protective measures—you can develop professional-looking forms that anyone can fill out with ease. Don’t forget the importance of design! A clean layout and user-friendly navigation can significantly enhance the experience for your form users, making it imperative to adhere to best practices.
Moreover, testing your forms and gathering user feedback ensures that you’re meeting the needs of those filling them out, allowing for continuous improvement. So whether you’re designing simple surveys, intricate applications, or anything in between, remember the benefits of using Microsoft Word for forms are numerous. With the right setup and design, you can streamline data collection and improve documentation processes, all while maintaining a professional appearance. So go ahead, unleash your creativity, and start creating impressive forms today!