
Creating main documents for letters and labels in MS Word saves time and enhances productivity. With the powerful mail merge feature, you can seamlessly connect a main document, like a letter, to a list of names and addresses. Imagine writing one letter and effortlessly sending it to all your friends—just like a group invitation!
This guide will help you prepare your main document effectively. We’ll cover selecting the right templates, adjusting margins, and customizing fonts. By the end, you’ll be ready to produce professional-looking letters and labels with ease!
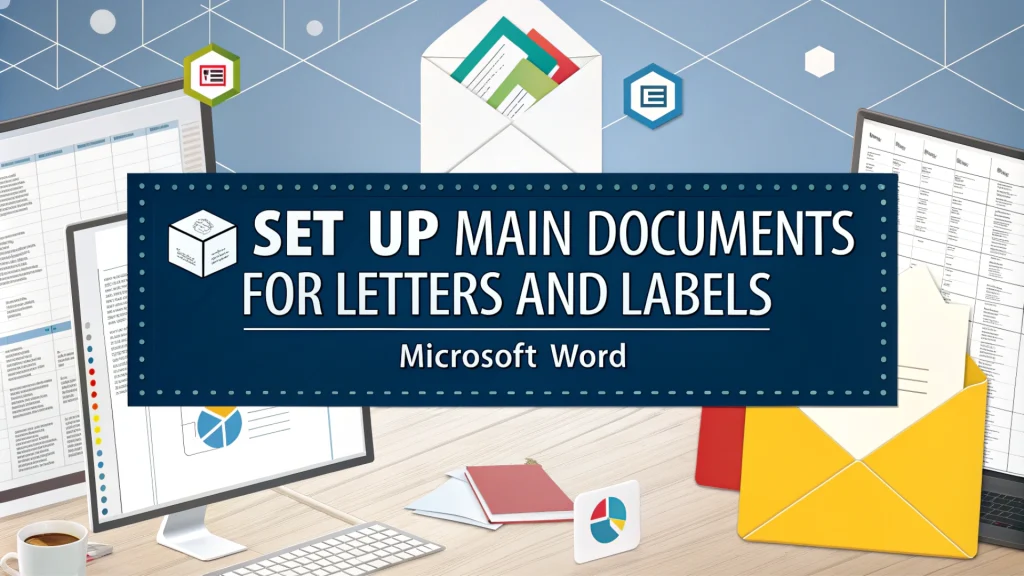
Setting Up the Main Document for Letters
Setting up the main document for letters in MS Word is necessary for creating personalized communications. Begin by opening a blank document and finding your way to Mailings > Start Mail Merge > Letters. This step designates your document as the main document, allowing you to compose the body of your letter.
Next, focus on formatting. Adjust margins, choose appropriate fonts, and apply consistent styles. Adding headers and footers enhances professionalism. Make sure your page layout and text alignment contribute to a polished look.
To personalize your letters, connect a data source, such as an Excel spreadsheet or an Outlook contact list. Insert merge fields like the address block and greeting line. At last, use spell check and proofreading tools to guarantee your document is error-free before printing or emailing.
Choosing Document Type
When creating a document in MS Word, start by selecting the document type. Click on Letters in the Select Document Type section. This sets up your main document, ensuring consistent text and graphics across all copies.
Next, improve your letters using mail merge. This feature allows you to pull data from a data source, like an Excel spreadsheet or Outlook contact list. To begin, go to Mailings > Start Mail Merge > Letters. Draft your letter’s body, leaving placeholders for personalized details such as names and addresses.
Formatting is key for a professional look. Pay attention to margins, fonts, and styles. Including headers and footers can lift your document; for example, adding your name or the date in the header helps track when the letter was sent.
Once your main document is ready, preview the results by clicking Mailings > Preview Results. This step is critical for proofreading and ensuring all personalized information displays correctly before printing.
When you’re satisfied with your document, print it by finding your way to Mailings > Finish & Merge > Print Documents. This process generates a batch of personalized letters, ready for distribution. If you face any document setting issues, check out formatting issues that may affect your final product.
Formatting Text and Margins
When creating a main document in MS Word for letters, emails, or labels, proper formatting and margins are critical. Correct margins make sure text isn’t cut off during printing, while effective text alignment enhances readability.
Adjust margins in the Layout tab by choosing predefined options or customizing settings. This is critical for documents like forms and official letters that demand a professional appearance.
- Fonts: Choose clear, legible fonts like Arial or Times New Roman.
- Styles: Keep heading and body text styles consistent for a polished look.
- Headers and Footers: Include necessary details such as page numbers or document titles.
For mail merges, insert merge fields to personalize each letter. These placeholders in the main document pull data from your data source. Always preview the results to make sure everything aligns perfectly before printing.
At last, use spell check and proofreading tools to catch errors. A well-formatted document not only looks professional but also demonstrates attention to detail.
Creating Labels in Word
Creating labels in Microsoft Word is a straightforward way to organize your documents. Begin by opening a blank document and finding your way to Mailings > Start Mail Merge > Labels. This action opens a dialog box where you can select your label supplier from the Label Options menu. If your labels aren’t listed, simply create a custom label by entering the specific dimensions.
Next, input the address or any other information for your labels. Focus on formatting: adjust margins, choose appropriate fonts, and consider using tables for precise alignment. Always preview your labels before printing to make sure everything looks correct. For those excited to explore into into more advanced features, explore this advanced features guide.
Once you’re happy with your design, go to Mailings > Finish & Merge > Print Documents. Using the Print Preview option is necessary to prevent errors. By following these steps, you can create professional address labels for any occasion, enhancing your organization and efficiency.
Selecting Label Options
To create labels in Microsoft Word, open a blank document and steer to Mailings > Start Mail Merge > Labels. In the Label Options dialog box, select your label supplier. This ensures a precise fit on your label sheets.
Next, customize the margins, font styles, and text alignment to match your preferences. For unique labels, click on New Label and enter the specific dimensions. This feature allows for personalized label creation.
Once your layout is set, type the address or any other information you want to display. To improve efficiency, consider using macros to automate repetitive tasks, saving you time and effort.
After entering your details, preview your labels by selecting Mailings > Preview Results. This step is necessary for verifying your work before printing. At last, select Finish & Merge > Print Documents to produce your labels. Remember to check the print options to make sure everything is correctly set!
Adjusting Page Layout and Print Settings
Creating labels in Microsoft Word demands precise adjustments to the page layout and print settings for a polished result. Begin by clicking on Mailings and selecting Labels. Choose your label product and set the margins to make sure a perfect fit.
Next, personalize your labels by customizing font styles and text alignment. Using a table format can effectively organize your information. Improve functionality and aesthetics by adding a header or footer featuring your name or logo.
Before printing, use Print Preview to check how your labels will look. This critical step helps you identify mistakes and confirm proper alignment. If issues arise, adjust the document settings accordingly.
Once you’re satisfied, print your labels. Conduct a test print on regular paper initial to verify that the label size and layout are correct. For further insights on customizing templates, check out custom templates for additional tips!
| Setting | Description |
|---|---|
| Margins | Adjust to fit label size |
| Font Styles | Choose clear, readable fonts |
| Text Alignment | Center or left-align as needed |
Utilizing Mail Merge for Customization
Utilizing Mail Merge in Microsoft Word allows you to efficiently create personalized letters, emails, and labels. Start by opening a blank document and finding your way to Mailings > Start Mail Merge. Select the type of document you want to create, such as letters or labels. For labels, choose Labels and select your label supplier from the list.
Next, prepare your main document by typing the body of your letter or setting up the label format. Insert merge fields from your data source, usually an Excel spreadsheet containing your recipient list. This step is critical for personalization, as it automatically fills in names and addresses.
After formatting your document—adjusting margins, fonts, and styles—preview the results to make sure everything looks correct before printing. To finalize the merge, select Finish & Merge > Print Documents. This process not only saves time but also enhances communication with personalized touches.
For detailed instructions on creating labels, check out this guide.
Linking Data Sources
Linking data sources is necessary for a successful Mail Merge in Microsoft Word. By connecting a data source, like an Excel spreadsheet, you can customize letters, emails, or labels for each recipient. This automation enhances personalization, making your documents more engaging.
Follow these steps to link a data source:
- Open Word: Start with a blank document.
- Select Mailings: Click on Mailings > Select Recipients.
- Choose Data Source: Select your Excel file or another data source.
- Insert Merge Fields: Add fields such as name and address to your main document.
Linking data sources enables you to swiftly create multiple personalized documents, ideal for bulk mail or printing address labels. For detailed instructions, check out this mail merge guide.
Mastering data source linking not only saves time but also enhances your communication’s impact. With the right setup, you can make sure your messages are personalized and reach the right audience.
Proofreading and Finalizing Documents
After creating documents in Microsoft Word, it’s critical to proofread and finalize them. This step ensures your letters, emails, and labels are clear and professional. While the spell check feature can catch basic errors, a complete read-through is critical for spotting awkward phrases and formatting issues.
- Check Formatting: Maintain consistent margins, fonts, and styles throughout your document.
- Review Headers and Footers: Make sure they are accurate and relevant to the content.
- Text Alignment: Confirm proper alignment for a polished and professional appearance.
Before printing, double-check your print options to guarantee everything appears correctly. This meticulous attention to detail will make your documents stand out. For more tips on mail merge, explore valuable resources.
Summing up
Creating personalized letters and labels in Microsoft Word is easy and enjoyable. The Mail Merge feature allows you to customize documents for each recipient, improving your communication. By following simple steps, you can produce eye-catching documents that save time and effort. If you’re sending invitations or labels, Mail Merge makes the process quick and efficient. Use these tools to make your writing tasks smoother and more rewarding!
Frequently Asked Questions
How do I create a main document for letters in Word?
To create a main document for letters in Word, go to Mailings > Start Mail Merge > Letters, then type your letter’s body.
How do I set up a Word document for labels?
To set up a Word document for labels, go to Mailings > Start Mail Merge > Labels, select your label options, and follow the prompts.
How do I create a mailing list in Word?
To create a mailing list in Word, go to Mailings > Start Mail Merge > Select Recipients > Use an Existing List, then choose your Excel file.
How do I create a main document in Word?
To create a main document in Word, go to Mailings > Start Mail Merge, choose your document type, and type your content.