
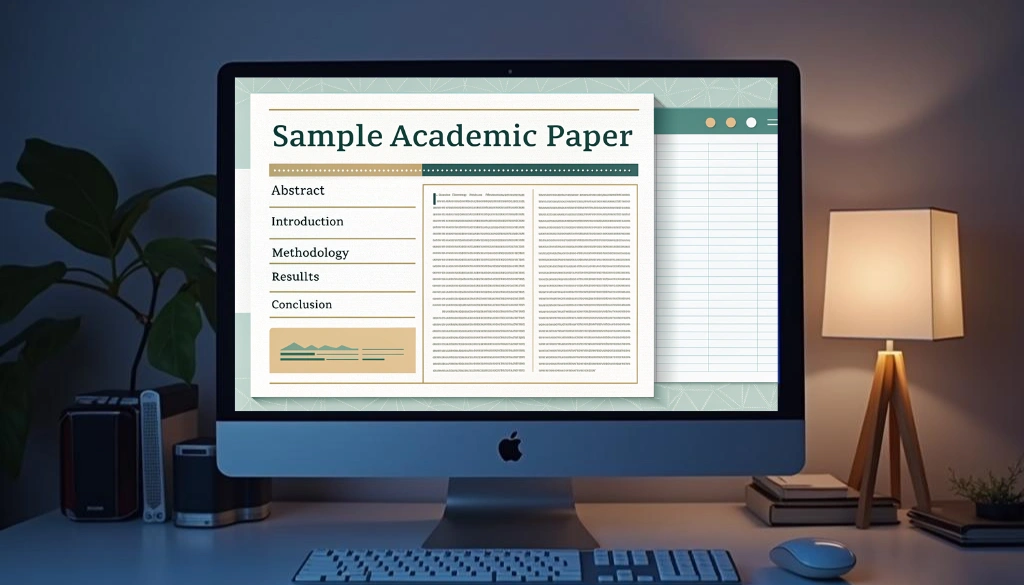
Setting up academic formatting in MS Word might seem daunting, but it’s simpler than you imagine! A well-formatted paper not only appears professional but also clarifies your ideas. If you’re writing an essay or a research paper, proper formatting is necessary.
This guide offers critical tips for effective document formatting. We’ll cover key elements like choosing the right font, adjusting margins, and inserting page numbers. By following these easy steps, you can make your academic writing clear and organized!
Choosing the Right Font and Size
https://www.youtube.com/watch?v=XiOzTTXB9kk
Choosing the right font and size is critical for academic formatting in Microsoft Word. The standard is 12-point Times New Roman, favored for its clarity and readability. For a contemporary feel, opt for 11-point Calibri or 11-point Arial, both excellent sans-serif choices.
Font size greatly affects accessibility. Avoid sizes smaller than 12-point to make sure readability for those with visual impairments. To adjust your font settings, follow these steps:
- Select text: Highlight the text by clicking and dragging.
- Change font: Go to the Home tab, click the font name box, and choose your font.
- Change size: Click the font size box and select a size from the dropdown.
Maintaining consistent line spacing (usually double-spaced) and proper margins (1 inch on all sides) enhances your document’s structure. Well-formatted documents reflect professionalism and attention to detail in academic writing.
| Font Style | Font Size |
|---|---|
| Times New Roman | 12 pt |
| Calibri | 11 pt |
| Arial | 11 pt |
Setting Document Margins and Line Spacing
Creating a polished academic document in MS Word requires precise margins and line spacing. Follow these steps to set them effectively.
Setting Margins:
- Open the Page Layout tab: Click the “Margins” button.
- Select Normal: This sets 1-inch margins on all sides, the standard for academic papers.
Adjusting Line Spacing:
- Go to the Home tab: Click the paragraph settings arrow.
- Choose Double: Select “2.0” for double spacing to improve readability.
Maintaining these settings improves your document’s readability and meets academic standards. Proper formatting enhances visual hierarchy and organizes citations and references effectively.
A well-structured document reflects your attention to detail and professionalism in academic writing!
Inserting Page Numbers and Headings
Inserting page numbers and headings in MS Word is critical for crafting a well-structured academic document. Here’s how to do it effectively.
To insert page numbers, follow these steps:
- Click the Insert tab: This is located at the top of your Word document.
- Select Page Number: In the Header & Footer section, open the dropdown menu.
- Choose your style: Select your preferred location (top or bottom) and format.
For headings, establish a clear hierarchy:
- Use Heading Styles: Highlight your text and choose a heading style from the Home tab.
- Maintain Consistency: Format all headings uniformly to improve clarity.
Incorporating these elements improves your document structure, making it easier for readers to steer citations, references, and the bibliography. Proper formatting not only enhances readability but also demonstrates your understanding of academic standards.
Creating Citations and Bibliography Styles
Creating academic papers in MS Word demands accurate formatting of citations and bibliographies to increase credibility and comply with your chosen style guide. Begin by finding your way to the Citations & Bibliography group in the References tab. Click the arrow next to Style to select your preferred citation format, such as APA, MLA, or Chicago.
After selecting a style, inserting citations is easy—simply click Insert Citation. This feature simplifies reference management. For document formatting, set the line spacing to double and make sure this applies to all text, including the Works Cited list. Maintain standard margins (usually 1 inch) and use Times New Roman size 12 for a polished look.
Using a default font can save time and make sure consistency throughout your document. At last, check that page numbers are correctly placed in the upper right corner of each page, excluding the initial. By adhering to these guidelines, you will create well-structured and professional academic documents.
Summing up
Setting up academic formatting in MS Word is simple with the right steps. Begin by choosing your citation style, adjusting margins, and enabling double-spacing. Use Word’s built-in tools to easily add citations and create a bibliography. With practice, you’ll master these necessary skills, allowing you to present your work confidently. Let’s improve our writing together!
Frequently Asked Questions
What common mistakes should I avoid when formatting an academic paper in MS Word?
Avoid inconsistent font sizes, incorrect line spacing, missing citations, and improper margin settings in MS Word.
How do you set up a Word document format?
To set up a Word document, choose your font (e.g., Times New Roman 12 pt), set double spacing, and adjust margins to 1 inch.
How do you format an academic report in Word?
To format an academic report in Word, set margins to 1 inch, use 12 pt Times New Roman, double-space, and select your citation style under References.
What are the key steps for setting up academic formatting in MS Word?
1. Set font to Times New Roman, size 12.
2. Double-space all text.
3. Set 1-inch margins.
4. Use the References tab for citations.