
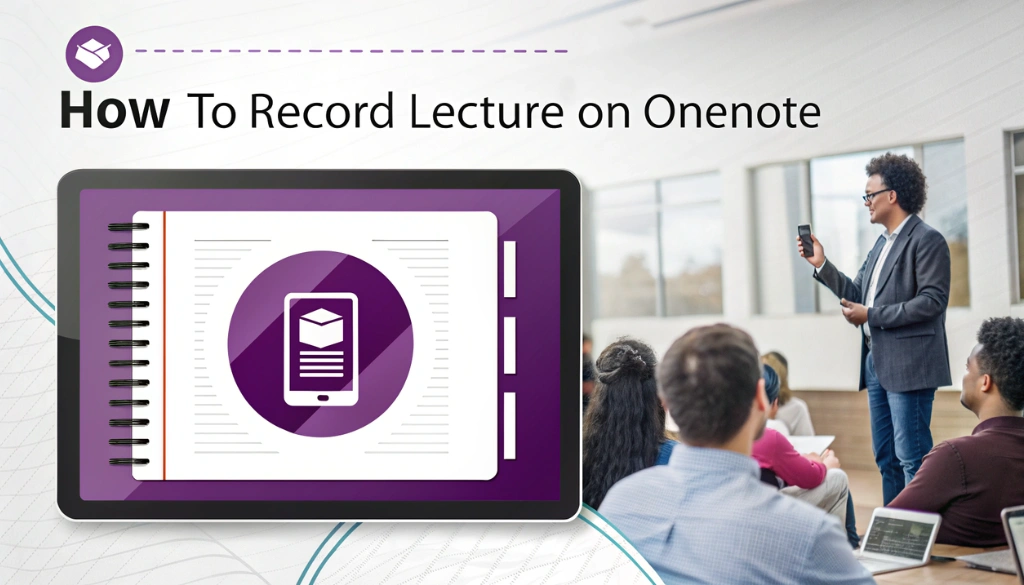
Recording lectures in OneNote is a smart way to capture significant information. It helps us focus on what the teacher says without worrying about writing everything down. With just a few clicks, we can create audio notes that sync with our written notes. This makes studying easier later on.
Using OneNote for lecture recording is simple and effective. We can insert audio recordings right into our notes, making it easy to find key points later. This tool is perfect for students who want to improve their note-taking and stay organized. Let’s explore how to get started with this helpful feature!
Key Takeaways
- To start recording audio in OneNote, go to the Insert tab and click on Audio; recording begins immediately.
- You can take notes while recording, and your notes will be linked to specific points in the audio for easy reference.
- To stop the recording, simply press Pause; the audio file will be attached to your current OneNote page.
- OneNote allows audio recording on multiple devices, including Windows, Mac, and iPad, enhancing your note-taking experience during lectures.
Setting Up OneNote for Lecture Recording
Setting up OneNote for lecture recording enhances your note-taking experience, making studying more effective and engaging by combining audio recordings with handwritten notes.
To get started, follow these steps:
- Open OneNote and select the page for your recording.
- Click the Insert tab.
- Choose Audio Recording; OneNote will start recording immediately.
- To stop, click Stop on the Audio tab.
This feature allows you to create multimedia notes, ideal for lectures. Listening to the audio while reviewing your notes enhances your grasp of the material.
Plus, OneNote syncs your notes across devices via cloud storage, ensuring you can access your study materials anytime, anywhere. This capability is critical for achieving academic success.
Using OneNote not only organizes your notes but also transforms learning into a more interactive and enjoyable experience.
Recording Audio During Lectures
Recording audio during lectures remarkably enhances your note-taking experience. With OneNote, you can effortlessly capture key details and revisit them later. Here’s how to get started:
- Open OneNote and select the page for your recording.
- Click on the Insert tab.
- Choose Audio Recording to start recording instantly.
- As you take notes, OneNote links them to the audio, allowing you to click on your notes later to jump to specific moments in the recording!
This feature not only enhances digital note-taking but also organizes your study materials effectively. Recorded audio files are stored in cloud storage, providing easy access across devices and boosting your academic success by making study sessions more productive.
Incorporating multimedia notes into your study routine enhances retention and understanding. OneNote transforms learning into an interactive and engaging experience.
| Feature | Benefit |
|---|---|
| Audio Recording | Capture lectures while taking notes |
| Cloud Storage | Access notes from any device |
Utilizing Multimedia Notes for Enhanced Learning
Utilizing multimedia notes remarkably boosts our understanding and retention of information. Tools like OneNote allow us to record lectures and create engaging notes that combine text, audio, and visuals.
Follow these steps to effectively record lectures using OneNote:
- Open OneNote: Launch the app and go to your chosen notebook section.
- Start Recording: Click the Insert tab and select Audio to begin.
- Take Notes: As the lecture progresses, note key points. Use annotations and visual aids to highlight significant concepts.
- Stop Recording: Click the stop button when the lecture ends. Your audio will sync with your notes for easy review.
This method captures the essence of lectures and encourages collaboration with peers. Sharing notes and audio recordings enhances student engagement and learning effectiveness.
| Multimedia Feature | Benefits |
|---|---|
| Audio Recording | Captures lectures for easy review. |
| Video Integration | Provides visual context to improve understanding. |
By incorporating multimedia resources into our study habits, we can improve knowledge retention and achieve academic success.
Syncing and Organizing Recorded Lectures
Using OneNote to record lectures enhances your learning experience. It allows you to capture audio or video notes during class, so you can focus on understanding the material instead of frantically writing everything down. With OneNote, your notes sync automatically across devices, giving you access anytime, anywhere.
To get started, follow these steps:
- Open OneNote: Launch the app on your device.
- Select a Page: Choose the page for your recording.
- Start Recording: Click Insert > Record Audio or Record Video.
- Take Notes: Jot down key points while recording; your notes link directly to the audio.
This method creates time-stamped notes, making it easy to review specific sections later. Use cloud storage to keep your notes organized and accessible.
With OneNote’s annotation tools, you can highlight significant information and collaborate with classmates, making studying more efficient and enjoyable. By integrating multimedia notes, you deepen your understanding of complex subjects, paving the way for greater academic success.
Summing up
Recording lectures in OneNote is a great way to keep our notes organized. We can easily capture audio while taking notes, making it easier to remember significant details later. By syncing our recordings with our notes, we can jump to specific parts of the lecture when reviewing. This method not only helps us stay focused during class but also improves our study sessions. Let’s make the most of OneNote to improve our learning experience together!