
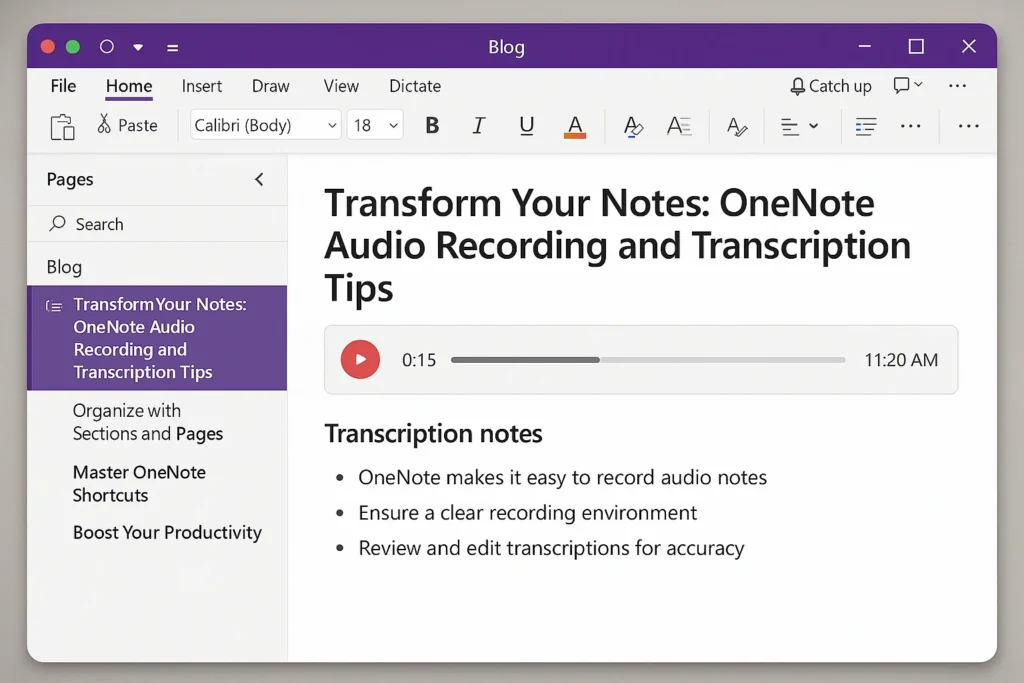
OneNote is a powerful tool that helps us take notes in a smarter way. With its built-in audio recording feature, we can capture significant meetings, lectures, or brainstorming sessions right from our devices. Imagine being able to listen to a lecture while jotting down key ideas without missing a word!
After recording, OneNote can even turn our spoken words into text through transcription. This means we can easily review and organize our notes later. By using OneNote for audio notes, we increase our productivity and make sure we never lose significant information again. Let’s look at how we can transform our note-taking experience with these amazing features!
Getting Started with OneNote Audio Recording Tips
Using OneNote for audio recording can really increase our note-taking experience. Here’s how to get started:
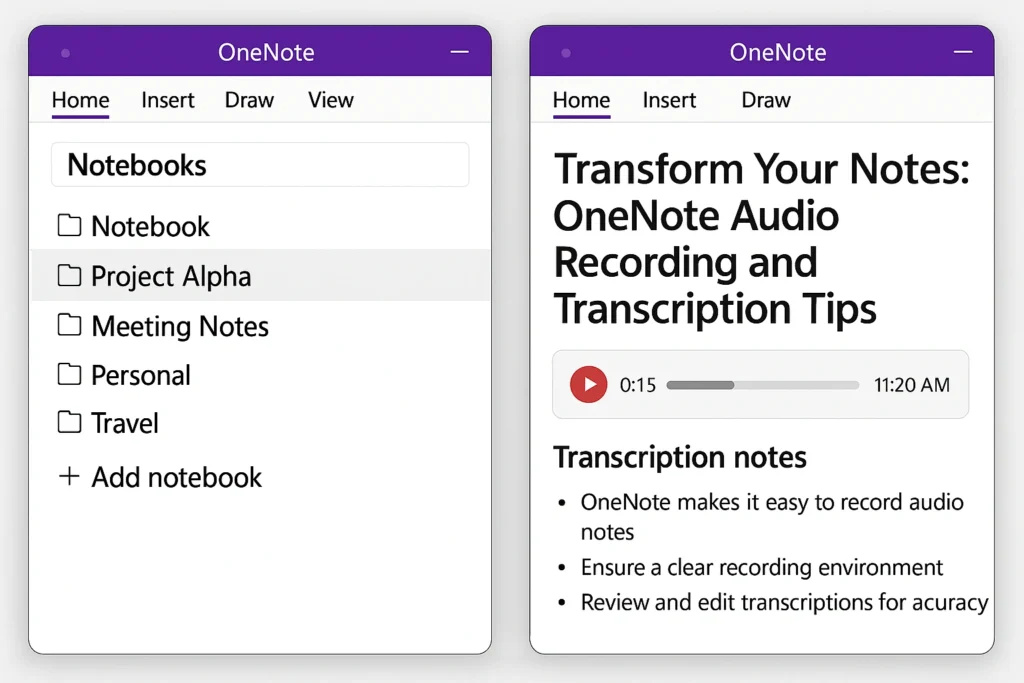
- Open OneNote: Launch the app and choose a notebook.
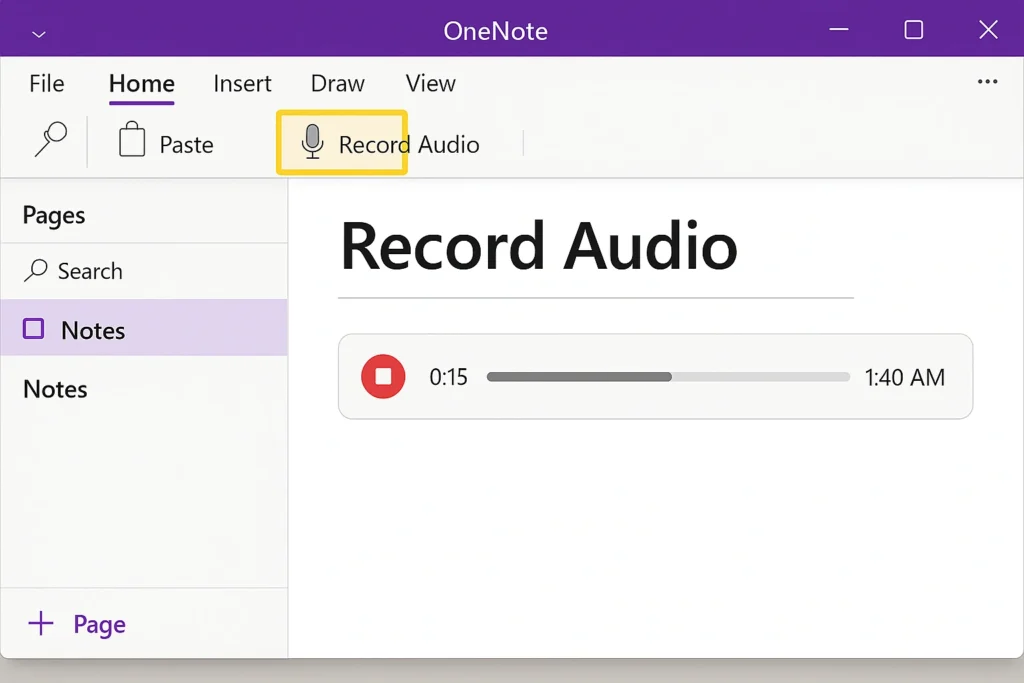
- Record Audio: Click Home > Record Audio. The recording will start right away.
- Take Notes: While recording, write down key points. These notes will link directly to the audio.
- Stop Recording: Click the media icon that appears to end the recording.
OneNote allows us to store audio files right in our digital notes, making it easy to revisit lectures or meetings. With its transcription feature, we can turn speech into text, which is especially helpful for studying. For more tips on using OneNote effectively, check out these hidden shortcuts.
“OneNote is not just a note-taking tool; it’s a powerful productivity companion.”
Here are some tips for effective audio recording:
- Clear Microphone Setup: Make sure your microphone is working properly to capture clear audio.
- Quiet Environment: Record in a quiet space to reduce background noise.
- Review Recordings: Listen back to make sure you captured all the significant details. You can find helpful video tutorials on this YouTube link.
By adding audio recordings to our study habits, we can improve our organization and retention of information, making learning more effective and enjoyable.
Best Practices for Effective Audio Recording in OneNote
Using OneNote for audio recording can change the way we take notes. Here are some best practices to help you make effective recordings:
- Choose the Right Environment: Find a quiet spot to record. This will help reduce background noise.
- Use Quality Equipment: Make sure your microphone is working properly. Test it before you start recording.
- Start Recording: Click Home > Record Audio to begin. Remember, you can pause and resume whenever you need to.
- Take Notes: Write down key points while recording. This helps you connect your notes with the audio later.
- Transcribe Later: Use OneNote’s transcription feature to turn your audio into text. This makes it easier to review your notes.
“OneNote is not just a note-taking tool; it’s your digital assistant for capturing ideas.”
After you finish recording, you can find your audio files in OneDrive. This makes it simple to share and collaborate with classmates or colleagues. By following these steps, you can increase your learning and productivity!
Transcribing Audio Recordings in OneNote
Transcribing audio recordings in OneNote is a game-changer for both students and professionals. With its built-in features, you can easily record and convert your voice notes into text. This not only saves time but also improves your note-taking experience.
Here’s how to get started:
- Open OneNote: Launch the app and select the notebook where you want to record.
- Record Audio: Click on Home > Record Audio. This captures everything said during lectures or meetings.
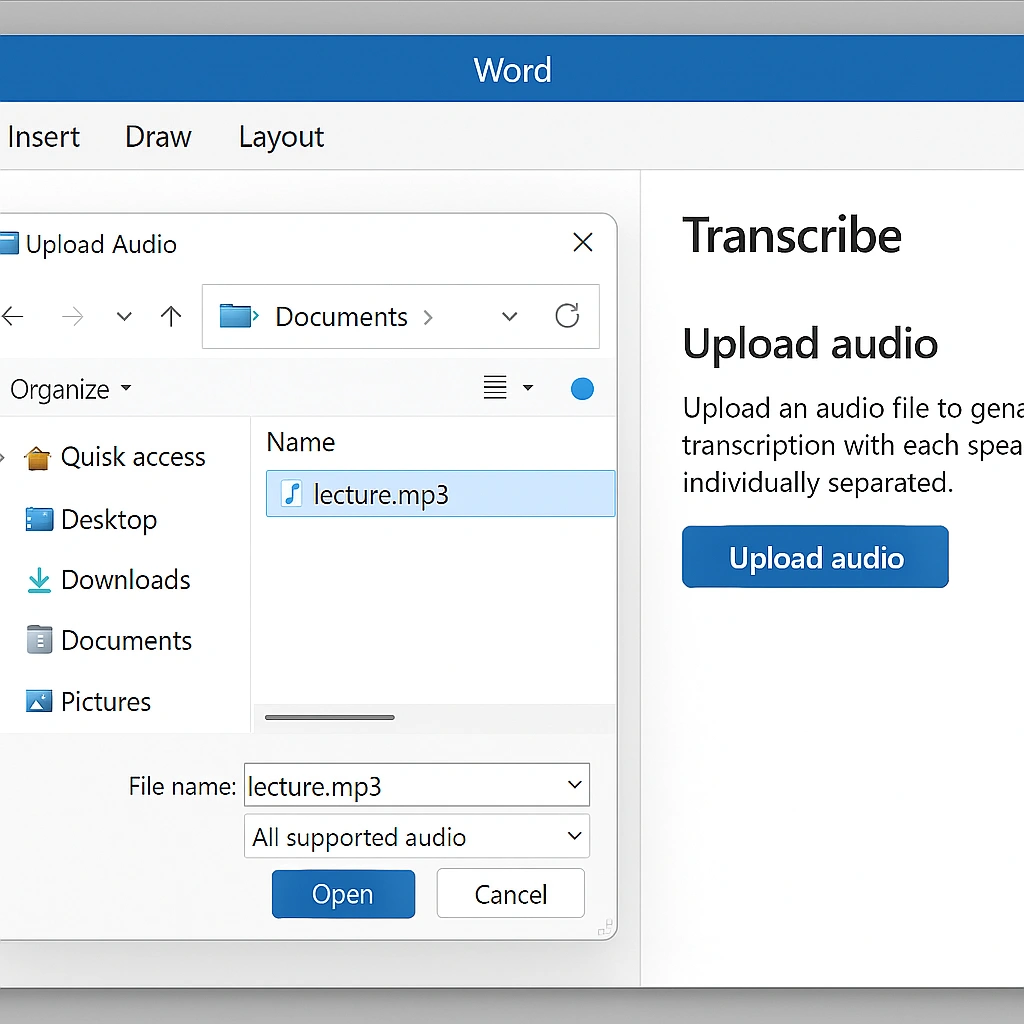
- Transcribe: After recording, use Microsoft Word to transcribe. Go to Home > Dictate > Transcribe and upload your audio file. For more details, check out this guide.

- Edit and Save: Review the transcript, make any necessary edits, and save it for future reference.
Using OneNote for audio notes not only keeps your thoughts organized but also allows you to revisit significant discussions easily. Imagine being able to click on a timestamp in your notes and jump directly to that moment in the recording!
“OneNote transforms how we capture and interact with information.”
With these simple steps, you can increase your productivity and make your study sessions more effective!
Organizing and Managing Your Recorded Notes
Organizing and managing our recorded notes in OneNote can truly change how we study and work. With its amazing audio recording and transcription features, we can easily capture lectures, meetings, or brainstorming sessions. Here’s how to make the most of it:
- Record Audio: Click Home > Record Audio. This feature captures everything happening in real-time so that you won’t miss a thing.
- Transcribe: After recording, use the transcription feature to turn your audio into text. This makes it much easier to review your notes later.
- Organize: Create sections for different subjects or projects. Label your pages with dates and topics, allowing you to quickly find what you need.
- Tag Significant Notes: Use tags like To Do or Significant to highlight key points that you don’t want to forget.
“OneNote is your intelligent assistant for meetings and lectures.”
By using OneNote’s cloud storage, we can access our notes from any device. This means our notes are always at our fingertips, whether we’re at school or home. If you need help with Microsoft Word’s built-in support, check out this resource. Let’s accept these tools to increase our productivity!
Enhancing Your Notes with Audio Features
Using OneNote to improve our notes with audio features is a game-changer! With its built-in audio recording and transcription capabilities, we can capture significant information effortlessly. Here’s how to get started:
- Open OneNote: Launch the app and choose the notebook where you want to record.
- Record Audio: Click Home > Record Audio. This feature captures everything said during meetings or lectures.
- Transcribe: After recording, use the Dictate feature in Word to transcribe your audio. Simply upload your audio file, and it will convert speech to text.
“OneNote timestamps your notes, allowing you to jump to specific moments in the recording.”
With cloud storage, our audio files are accessible from anywhere. This means we can collaborate easily and share notes with classmates. Imagine studying for exams with audio notes that summarize key points! It’s not just about taking notes; it’s about enhancing our learning experience.
Let’s accept these tools for better organization and productivity! If you encounter issues, check out this helpful resource for solutions.
Troubleshooting Common Issues with OneNote Audio
Using OneNote for audio recording and transcription can be a game-changer for students and professionals alike. But you might encounter some common issues. Here’s how to troubleshoot them:
- Microphone Issues: Make sure your microphone is properly set up in the Windows settings. If it’s not picking up sound, double-check the input device.
- Recording Not Starting: To begin recording, click on Home > Record Audio. If you don’t see the button, try updating OneNote or checking if your version is compatible.
- Transcription Delays: Transcription can take some time, especially if your internet speed is slow. Keep the Transcribe pane open and be patient while it processes.
- Audio Quality: For clearer recordings, find a quiet environment and minimize background noise. This will help ensure accurate transcription.
By addressing these issues, you can make the most of OneNote’s audio features. Remember, practice makes perfect!
| Issue | Solution |
|---|---|
| Microphone Issues | Update OneNote or check the version. |
| Recording Not Starting | Keep the Transcribe pane open. |
| Transcription Delays | Keep Transcribe pane open. |
| Audio Quality | Record in a quiet space. |
For those interested in enhancing their document formatting skills, check out this shortcut for superscript in Microsoft Word!
Frequently Asked Questions
What tips can help improve the quality of audio recordings in OneNote?
To improve audio recording quality in OneNote, use a high-quality microphone, minimize background noise, and make sure the microphone settings are correctly configured.
What are the benefits of using audio recording in OneNote for note-taking?
Using audio recording in OneNote enhances note-taking by allowing hands-free capture of meetings and lectures, ensuring you retain context and details without frantic typing.
How can I effectively transcribe audio recordings in OneNote?
To effectively transcribe audio recordings in OneNote, record your audio, then use Word Online to upload and transcribe the file, ensuring to keep the Transcribe pane open during the process.
Conclusion
Using OneNote for audio recording and transcription can change how we take notes. We can capture significant meetings, lectures, or ideas without missing a beat. With just a few clicks, we can record, transcribe, and organize our thoughts all in one place.
Imagine never losing track of a great idea again! By accepting these tools, we can increase our productivity and focus on what really matters—understanding and acting on the information we gather. So, let’s start recording and transforming our notes today!