Creating a new document in Microsoft Word is the foundational skill every user needs to master. Whether you’re drafting a business report, writing a school essay, or crafting a personal letter, knowing how to efficiently create and set up a new document will streamline your workflow and boost your productivity.
Starting Your Document Creation Journey
Microsoft Word offers multiple pathways to create new documents, and understanding these options will help you choose the most efficient method for your needs. The process is straightforward, but knowing the right steps can save you valuable time and ensure your documents are properly formatted from the start.
Method 1: Creating a Blank Document
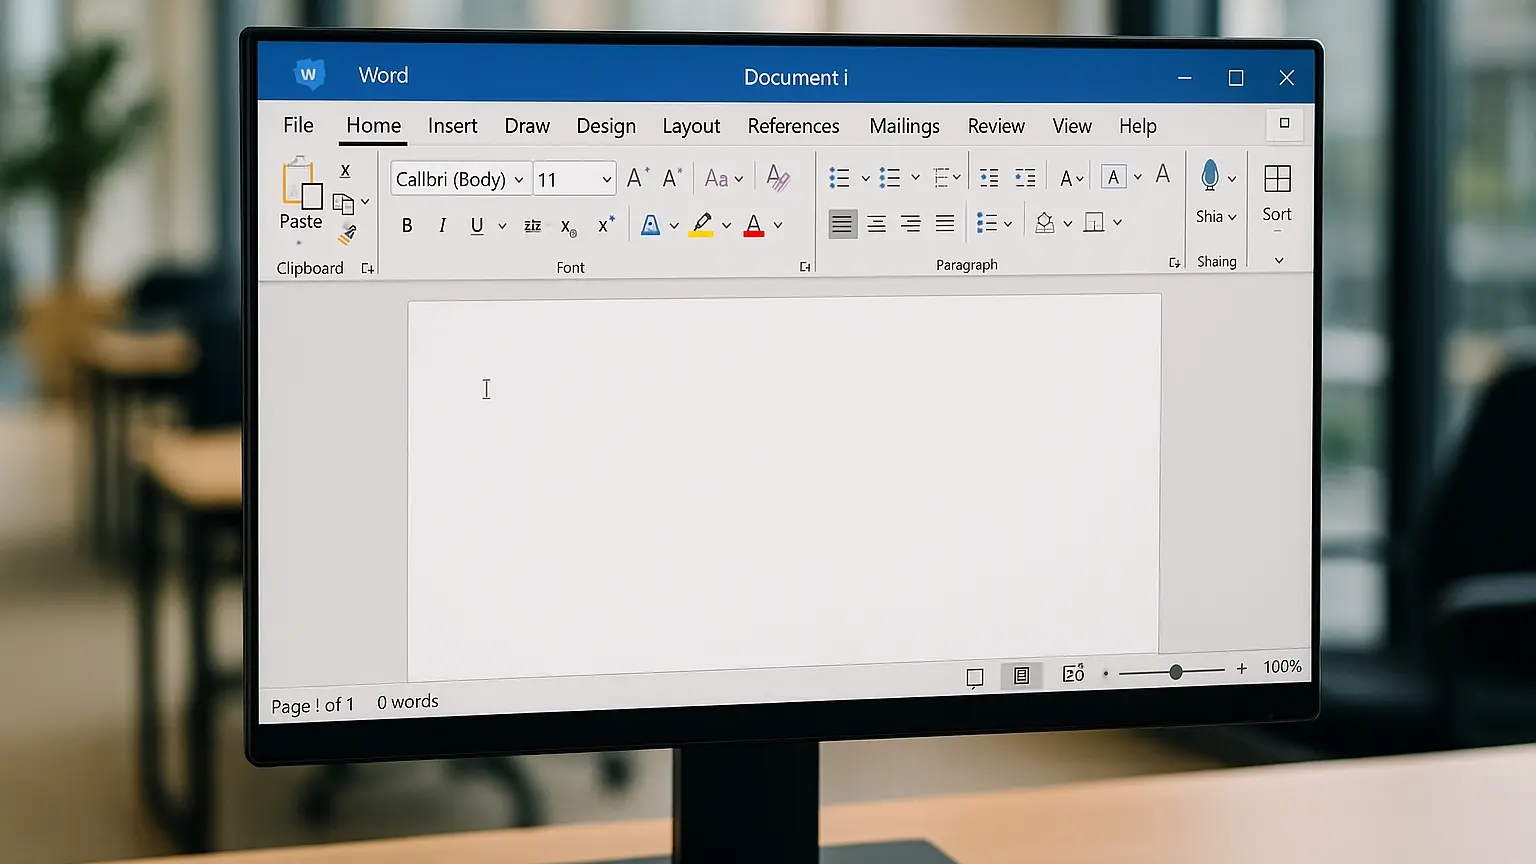
The most common way to create a new document is through the blank document option, which provides you with a clean slate to work with.
Step-by-Step Process:
- Open Microsoft Word by clicking the Word icon on your desktop or searching for “Word” in your Start menu34
- Navigate to the File tab in the top-left corner of the screen
- Select “New” from the dropdown menu
- Choose “Blank document” from the available options
- Double-click on the blank document option to open it

Quick Keyboard Shortcut:
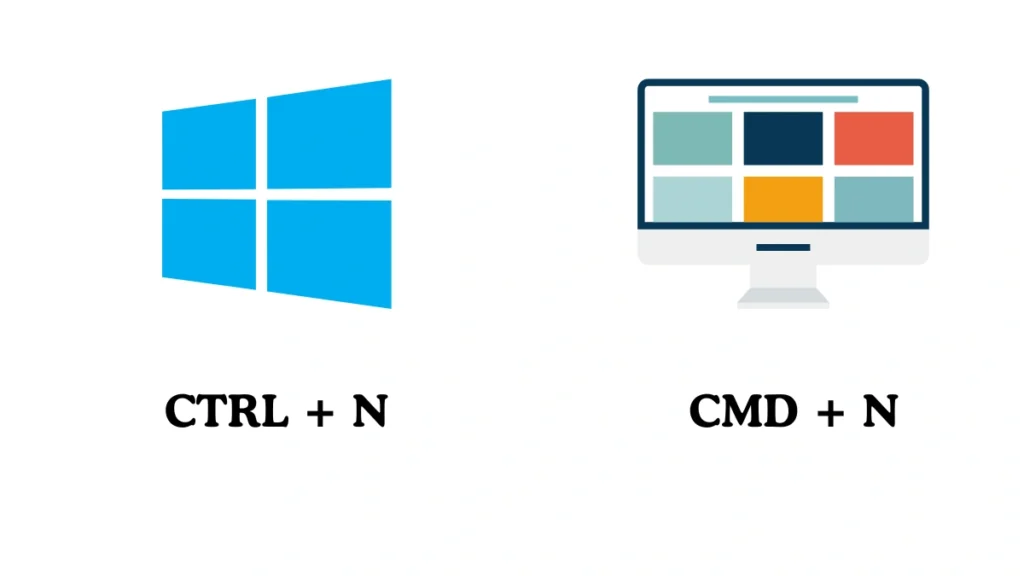
For faster document creation, you can use the keyboard shortcut Ctrl+N (or Cmd+N on Mac) to instantly create a new blank document. This shortcut works regardless of whether you already have Word open or need to create additional documents.
Method 2: Using Templates for Structured Documents
Templates provide pre-formatted document structures that can significantly speed up your document creation process. Microsoft Word offers hundreds of professionally designed templates for various purposes.
Accessing Templates:
- Open Word and go to the File tab
- Select “New” to access the template gallery
- Browse through featured templates or use the search function to find specific template types
- Select your desired template and click “Create”

Popular Template Categories:
- Business documents: Reports, proposals, invoices
- Academic papers: Research papers, essays, thesis formats
- Personal use: Letters, resumes, cover letters
- Creative projects: Newsletters, brochures, flyers
Method 3: Online Document Creation
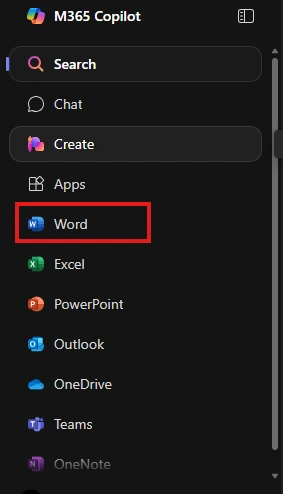
Microsoft 365 users can create documents directly through their web browser, making it convenient to access documents from any device.
Browser-Based Creation:
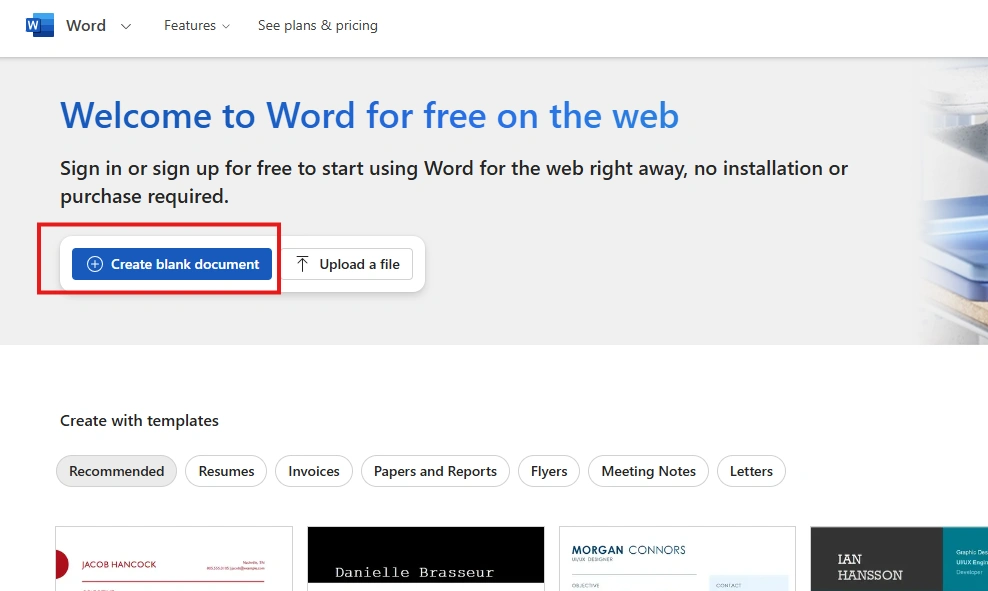
- Navigate to office.com and sign in with your Microsoft account
- Click on Word from the app launcher
- Select “New blank document” or choose from available templates
- Start typing immediately – your document will auto-save to OneDrive
Quick URL Method:
For the fastest online document creation, simply type word.new in your browser’s address bar. This will instantly open a new blank document in Word Online, saving you several clicks and getting you started immediately.
Saving Your New Document
Once you’ve created your document, proper saving practices are crucial to prevent data loss and maintain organization.
First-Time Saving Process:
- Click the File tab and select “Save” or “Save As”
- Choose a location for your file (local computer, OneDrive, or external drive)
- Enter a descriptive filename that will help you identify the document later
- Select the file format (typically .docx for Word documents)
- Click “Save” to complete the process

Ongoing Saving Best Practices:
- Use Ctrl+S regularly to save your work
- Enable AutoSave if you’re using Microsoft 365
- Save frequently to prevent data loss from an unexpected shutdown
- Use descriptive filenames to make documents easily searchable
Essential Document Setup Tips
Font and Formatting Basics:
- Choose professional fonts like Calibri, Arial, or Times New Roman
- Set appropriate font size (typically 11-12 points for body text)
- Configure margins using the Layout tab for proper spacing
- Enable spell check to catch errors as you type
Document Organization:
- Use consistent heading styles for better navigation
- Set up proper line spacing (1.15 or 1.5 for readability)
- Configure page numbering if needed for longer documents
- Add headers and footers for a professional appearance
Advanced Document Creation Features
Collaboration and Sharing:
Microsoft Word’s collaboration features allow real-time editing and sharing with team members. You can:
- Share documents directly from Word using the Share button
- Set permissions to control who can edit or view your document
- Track changes to monitor edits and revisions
- Add comments for feedback and communication
Import and Conversion Options:
Word allows you to work with various file formats beyond standard documents:
- Import text files using the “Recover Text from Any File” option
- Open PDF files for editing directly in Word
- Convert documents to different formats as needed
Troubleshooting Common Issues
Document Won’t Save:
- Check file permissions in your chosen save location
- Ensure sufficient storage space on your device
- Try saving to a different location if the original fails
Template Not Loading:
- Check the internet connection for online templates
- Clear Word cache if templates appear corrupted
- Restart Word and try accessing templates again
Formatting Issues:
- Reset to default formatting using Ctrl+Shift+N
- Clear formatting using the Home tab tools
- Check for hidden characters that might affect the layout
Conclusion
Creating a new document in Microsoft Word is a fundamental skill that opens the door to countless productivity possibilities. By mastering these three primary methods – blank documents, templates, and online creation – you’ll be equipped to handle any document creation scenario efficiently. Remember to establish good saving habits from the start, utilize Word’s powerful formatting tools, and explore the collaboration features that make Word an indispensable tool for modern document creation.
Whether you’re working on a simple letter or a complex business report, these foundational skills will serve as your gateway to becoming more productive and professional in your document creation endeavors. Start with these basics, practice regularly, and gradually explore Word’s more advanced features to unlock your full potential as a document creator.
Frequently Asked Questions
Q: What’s the difference between “Save” and “Save As” in Word?
A: “Save” updates your current document with any changes you’ve made, while “Save As” creates a new copy of your document with a different name or location. Use “Save As” when you want to keep the original document unchanged or create multiple versions.
Q: Can I create a Word document without installing Microsoft Office?
A: Yes, you can use Word Online through your web browser by visiting office.com or typing Word.new in your address bar. This requires a Microsoft account and internet connection, but provides the most essential Word features.
Q: How do I recover a document I forgot to save?
A: Word has an AutoRecover feature that saves temporary versions of your work. Go to File > Info > Manage Document > Recover Unsaved Documents to find recent unsaved files. You can also check the Recent Documents list for auto-saved versions.
Q: What file format should I use when saving my Word document?
A: Use .docx for modern Word documents as it’s the current standard format. This format is compatible with Word 2007 and later versions. Use .doc only if you need compatibility with older versions of Word (2003 and earlier).
Q: Can I set a default template for all new documents?
A: Yes, you can customize the Normal.dotm template to set default formatting, fonts, and styles for all new blank documents. Go to File > Options > Add-ins to access template customization options.
Q: How do I create a document from a custom template?
A: Save your formatted document as a template (.dotx file) using File > Save As > Browse > Change file type to “Word Template”. Then access it through File > New > Custom templates section.
Q: What’s the maximum file size for a Word document?
A: Word documents can be up to 512MB in size, but performance may decrease with very large files. For better performance, consider splitting large documents into smaller sections or using master documents with subdocuments.
Q: Can I work on a Word document offline?
A: Yes, you can work on Word documents offline if you have the desktop version installed. Documents saved to OneDrive will sync automatically when you reconnect to the internet. Word Online requires an internet connection to function.